|
|
Taking pictures of little stuff |
|
Introduction |
   |
|
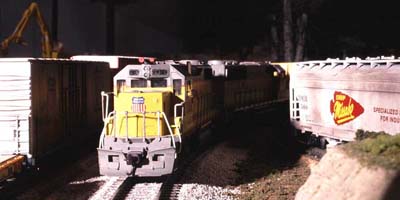
 Photo 7 - I took this picture under both fluorescent and incandescent lighting. Even the mighty Photoshop couldn't compensate for the white balance problems. Some surfaces are too red, others are too blue-green. 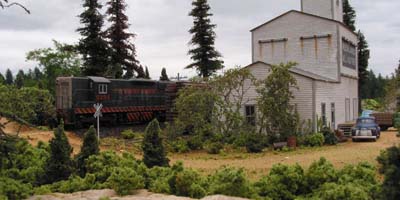 Photo 8 - A photo taken outdoors on a cloudy day. There are NO sharp shadows anywhere! 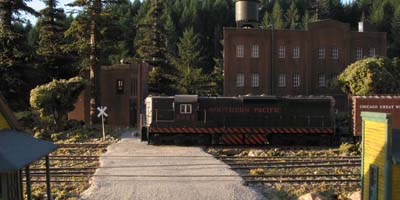 Photo 9 - An early morning picture taken outdoors. Note the light coloration (reddish) and the very long shadows.  Photo 10 - With the primary light coming in from the left why is the side of the building facing the box car so well lit? This shot could have had better light balanced.  Photo 11 - The sky lighting is uneven in this photo. Too much light on the right. Too little on the left.  |
|
 Photo 13 - The camera was placed up against the backdrop to take this picture. It would have been impossible to take it from an aisle.  Photo 14 - Remove all dead bodies (unless you're modeling a morgue) before taking pictures. 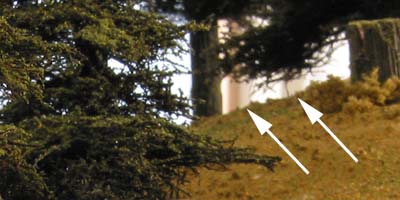 Photo 15 - Cracks, holes, and edges of the sky are usually considered to be a bad thing. 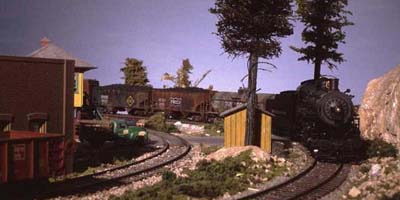 Photo 16 - The grond seems to "fall away" with nothing beyond in this picture. 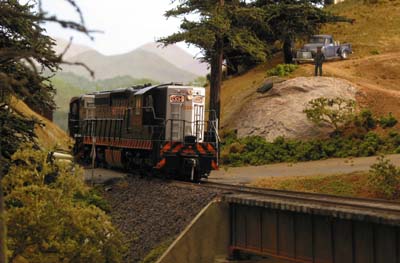 Photo 17 - This picture has a definite background.  Photo 18 - This picture shows scaffolding and the standalone sky I used to take photo 6. |
|
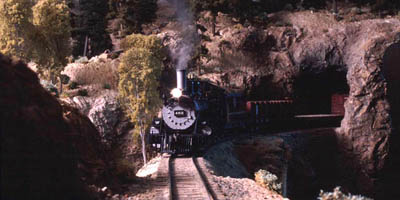
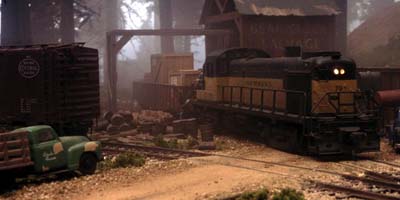 Photo 19 - A foggy background gives a dreary brooding feeling to this picture. 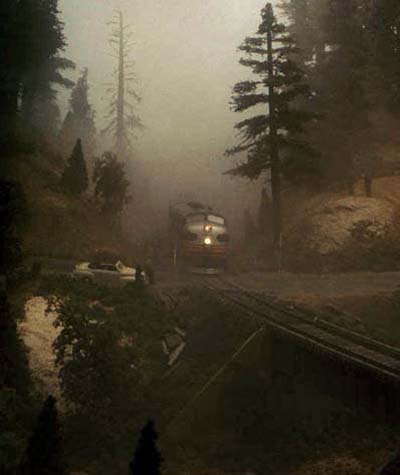 Photo 20 - This super fog shot shows a great deal of scene depth from the dark trees poking up from the bottom of the picture to the grade crossing and the train behind the F3's lost in the swirling murk. 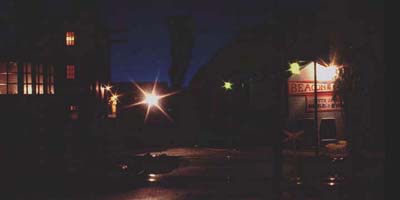 Photo 21 - Nighttime photography shows off the building lighting with relections on the rails. The sky in the back ground was illuminated with a small blue light lieing on the floor under the sky panel. Exposure about 30 minutes a f22! 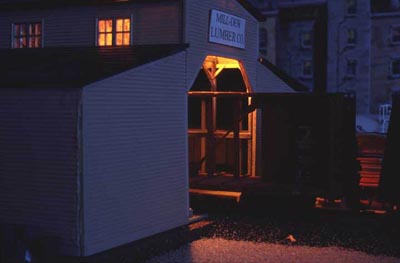 Photo 22 - If you plan on taking night pictures paint a black or metallic silver undercoat on your buildings with interior lighting before applying the finish coat to avoid that unearthly glow. 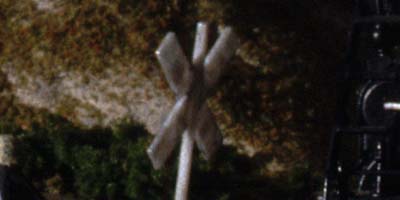 Photo 23 - Translucent plastic cross bucks need to painted silver then white again to avoid that see-through feeling.  Photo 24 - To avoid the mixed lighting types problem present in photo 7 I converted the color image to black and white. This also gives the picture a kind of antique feeling. To finish it off I painted in a smoke plume using photo shop. Full size image. |
|
 Photo 25 - An Espee cab-foward coasts across a grade crossing. 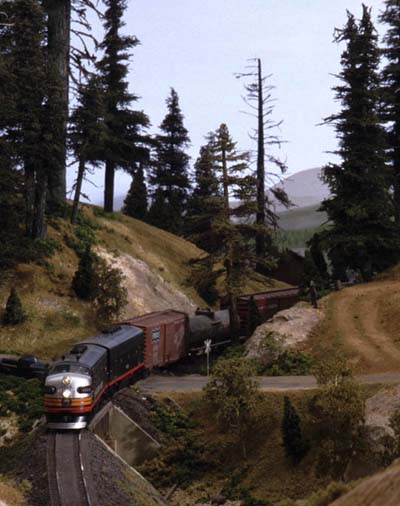 Photo 26 - The portrait format of this picture acentuates how far down it is from the photographer (on top of the cut this train is about to enter) to the train. Note where the horizon level is in the background (about camera level). 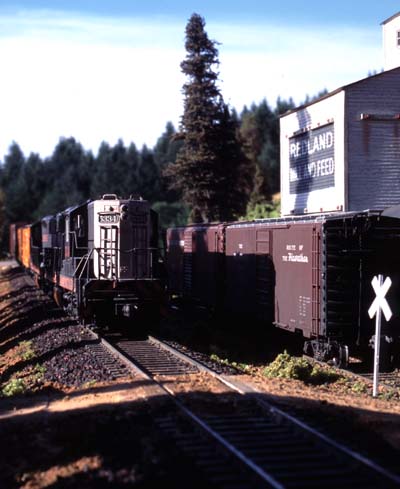 Photo 27 - An SD7 drifing by the Mill and Feed in Redland on my Redland diorama taken outdoors on daylight slide film. 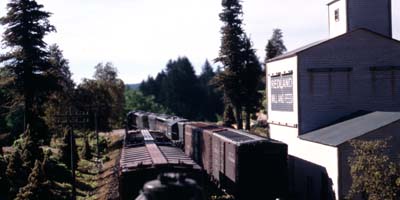 Photo 28 - The SD7s getting set to make a pickup at the Mill and Feed in Redland on my Redland diorama taken outdoors on ancient Ektachrome E-200 daylight slide film. This film got accidently left in the camera bag for two years before I found it and shot the remaining frames on the Redland diorama before having it processed. The result is all the colors are a bit off. Process film promptly! |
|