|
|
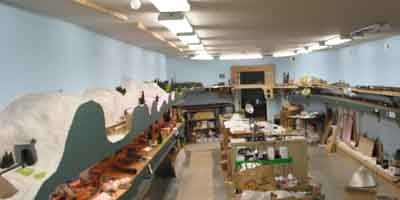
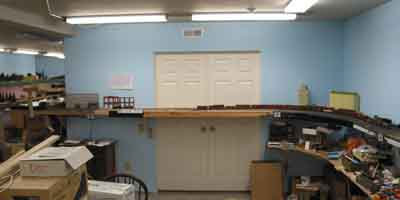
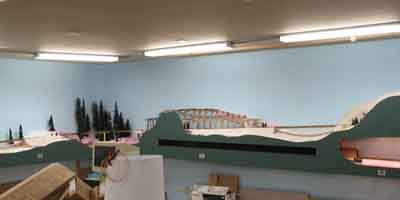
Construction progress to Mar 1, 2007 |
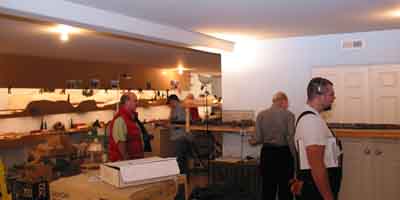
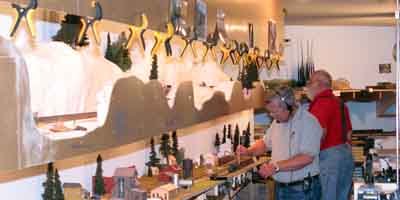
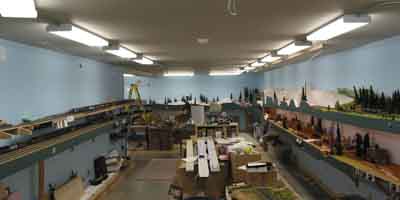
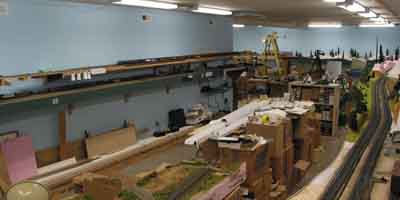
BCSJ III - Enlightenment - Mar 1, 2007 One of the (many) things stalling scenery progress was an impasse in how the railroad should be lighted. Originally my plan had been to go for a shadowbox look with lighting hidden behind valences so the layout would be well lighted but the aisles would be darker. The theory being this would tend to move your interest away from the mess (and crew) in the aisles to the beautifully sceniced railroad. I also wanted to have dimmable lighting so an automatic day/night cycle would be possible slaved to the fast clock with building lights etc. turning on and off at appropriate times. To this end I chose to use lots of 25 watt incandescent bulbs which are easily dimmable. By carefully selecting the sockets and valence materials I would be able to build the lighting valences around the roughly 300 feet of benchwork edge for a cost of a bit less than $5 per foot (everyone say ouch). But I found that in practice the lights weren't bright enough to suit me. And as the track descended down from Oakhill toward Mill Bend the lighting got dimmer as the tracks and scenery moved farther away from the lights. I also wasn't thrilled with the amount of work required to install the valences (which was definitely a two man job) especially above the bench work edge curves which would require huge amounts of cutting an fitting. I'd tried some of the fluorescent fixtures from the local big box stores and had found that even the ones labeled "best" buzzed audibly. And that a lot of the tubes I tried generated light that felt harsh to my eyes. But Mike Baynes, one of my train buddies assured me the fluorescents he had installed over his layout didn't buzz at all that he could hear. A visit to his train room revealed that I couldn't hear 'em either. So off the Pacific Lamp Wholesale I went to get a few of those fixtures (Crescent NLT232-UNIV dual 48" T8 wraps) to check them out. At home I found I still couldn't hear any buzz. I picked up some sets of various tubes to check the different lighting qualities and found I liked a 4100K Sylvania tube the best. The 5000K "daylight" bulbs I found seemed to have color spikes in them that made some of my test scenery almost go neon! There was a huge difference in the amount of light on the layout with these new fixtures. They were putting out close to 6000 lumens per fixture while those 25 watt incandescents were putting out less than 300. I had the fluorescent fixtures on 6' end to end centers (at nearly $50 each I was trying to save some money on fixtures and tubes!). The incandescents were on 2 foot centers. So 6000 / 3 is 2000 lumens vs the <300 for the others. Another good thing about the fluorescents was that mounted above the aisles they lit up the sides of buildings and freight cars that were right at the benchwork edge while the incandescents behind the lighting valence were providing next to no light on those surfaces. I checked into dimmers and found that the prices for fluorescent dimmer which having come down significantly were still going to be in the $80 per fixture range to get the dimming levels I wanted. But there was a new generation of dimmers becoming available that used a control method called DALI. This is basically like DCC for lights with the controller able to talk to each light fixture individually even though they shared a control bus. But the price was just too rich for me (with 26 fixtures!) so I decided to give up on dimming for now (maybe in the future if the prices continue to decline I'll go for it) and I ordered the rest of the fixtures I'd need to do the layout room (22 more of 'em). It took an evening to disassemble the lighting valences and the light circuits they carried then I set to work in earnest with a conduit bender, rolls of 14 gauge wire and hacksaw blade in my saber saw to cut the 1/2" steel conduit I was using between fixtures. There are still 3 more fixtures to install which I need to know just a bit more about where the central peninsula backdrop will go before I install them but the layout room now looks like day when all the lights are on. And for this level of light I'm only using about 1500 watts (versus to close to 4000 I'd have been using for the incandescents). Cost was actually at bit less for the fluorescents even using Sylvania FO32/841/XP/ECO bulbs (4100K and 85CRI). $5 per ft * 300' = $1500 for the incandescentsMore light for less money and easier to install too! Now if only I could afford dimming. Although the bulbs I used weren't the ultra high end photo bulbs (like C50 or Phillips TL-950s) the photography and camcorder tests show that the lighting is quite decent for picture taking (especially if I white balance first). The spacing of the fixtures at two feet does result in dimmer areas between fixtures but in person these are hardly noticible. And I'll be using dedicated photo lighting for "serious" pictures. Here are a few before and after pictures showing the differences.
Charlie Comstock |
|